Drawing stitches can be a real challenge. It’s easy to get frustrated when your lines look messy or unrealistic. But don’t worry, I’ve been there too.
This guide is all about making stitch tekenen makkelijk.
I’ll share step-by-step instructions and practical tips. You’ll see, with a bit of practice, you can draw clean, realistic stitches. Are you ready to give it a try?
Let’s dive in.
Understanding Stitches: Types and Uses
Stitches are the building blocks of sewing, embroidery, and other textile arts. They’re essential in fashion design, medical illustrations, and even in creating detailed textile art. Knowing the right stitch can make or break your project.
Straight stitches, for example, are simple and versatile. They’re perfect for seams and hems. Zigzag stitches, on the other hand, add a bit of flexibility and are great for finishing edges to prevent fraying.
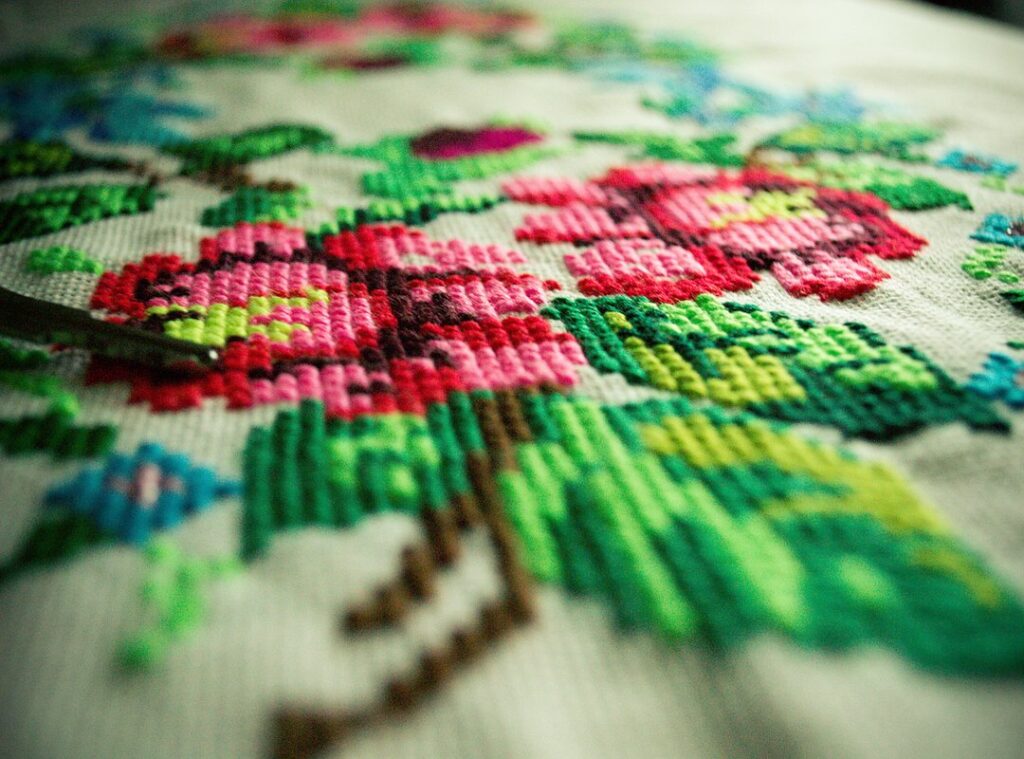
Cross-stitch is another popular type. It’s used in embroidery to create intricate patterns and designs. The visual effect is quite striking, making it a favorite among crafters.
Understanding these different types of stitches can help you choose the best one for your specific needs. Whether you’re working on a delicate piece of clothing or a detailed illustration, the right stitch can make all the difference.
Pro tip: Practice makes perfect. Try out different stitches on scrap fabric to get a feel for how they work and what they look like.
stitch tekenen makkelijk is a Dutch phrase that means “easy to draw stitches.” It’s a good reminder that with a bit of practice, even complex stitches can become second nature.
Gathering Your Tools and Materials
When you’re starting out with drawing, it’s important to have the right tools. Let’s break it down into what you absolutely need and what’s nice to have.
Essential Tools:
– Pencils (a range of hardnesses like 2B, 4B, and 6B)
– Erasers (kneaded and vinyl erasers)
– Rulers (for straight lines and measurements)
– Drawing paper (good quality for practice and final work)
These basics will get you up and running. No need to go overboard at first.
Optional Tools:
– Fine-tip pens (for detailed line work)
– Colored pencils (to add a splash of color)
– Tracing paper (for transferring and refining your sketches)
These extras can enhance your experience and give you more creative options. But don’t feel pressured to buy them all at once.
Now, let’s talk about why these tools matter. Pencils and erasers are your bread and butter. They allow you to sketch, shade, and correct mistakes.
Rulers help you keep things neat and precise. And good drawing paper is essential for your art to look its best.
On the other hand, fine-tip pens, colored pencils, and tracing paper can add depth and variety to your work. They’re not necessary, but they can make the process more enjoyable and the results more impressive.
Stitch tekenen makkelijk, right? It’s all about starting with the essentials and then adding more as you grow and discover what you enjoy.
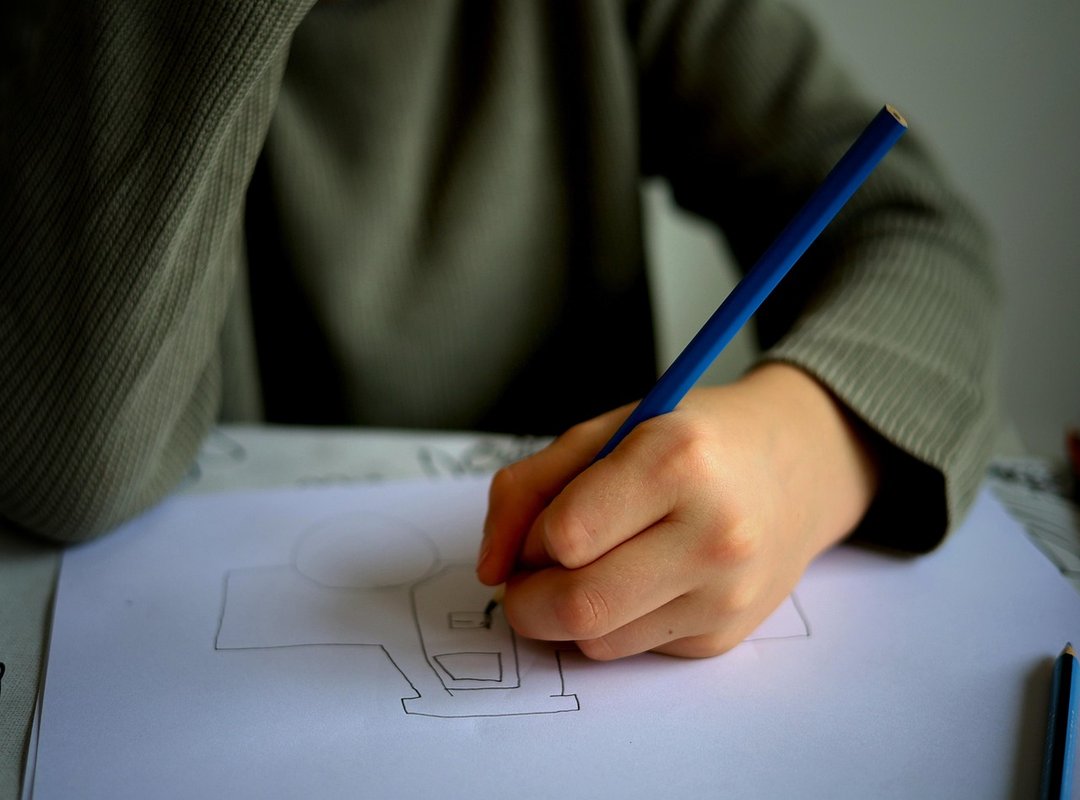
Step-by-Step Guide to Drawing Straight Stitches
Let’s face it. Drawing straight stitches can be a real pain. You think you’ve got it, but then your lines go wobbly, and suddenly, your project looks like a mess.
Preparation: Setting up your workspace and materials
First things first, and clear your workspace. Clutter is the last thing you need when you’re trying to focus.
Gather your pencils, erasers, and a ruler. A clean, organized space makes all the difference.
Drawing the Base Line
Drawing a clean, straight line as the foundation for your stitches is crucial. Use a ruler, and it’s not cheating; it’s smart.
Nothing’s more frustrating than a crooked base line. Trust me, I’ve been there.
Adding the Stitches
Now, for the fun part—adding the individual stitches. Start at one end of the base line and work your way across. Consistency is key.
Keep your spacing even. If you find yourself getting off track, take a deep breath and start again. Patience is a virtue in this craft.
| Step | Description |
|---|---|
| 1 | Draw the base line using a ruler. |
| 2 | Add the first stitch at one end of the base line. |
| 3 | Continue adding stitches, maintaining even spacing. |
Shading and Detailing
To add depth and realism, shading and detailing are essential. Lightly shade around the stitches to give them a three-dimensional look. Don’t overdo it.
Subtle is better here.
Stitch tekenen makkelijk, right? With a bit of practice, it can be. Just remember, every artist has their off days.
Don’t get too hard on yourself if it doesn’t come out perfectly the first time.
How to Draw Zigzag Stitches
Preparation is key. Set up your workspace with a clean, flat surface and gather your materials: a pencil, eraser, and some paper.
Drawing the Base Line
Start by drawing a wavy or zigzag line. This will be the foundation for your stitches. Keep it simple and don’t worry about perfection.
A little imperfection can add character.
Adding the stitches is where it gets fun. Place small, evenly spaced lines along the zigzag. It’s like adding teeth to a saw. Ftasiaeconomy
(Pro tip: Use a ruler if you need help keeping the spacing consistent.)
Shading and detailing are what bring your stitches to life. Add some light shading under the stitches to give them depth. You can also add a few highlights to make them pop.
Stitch tekenen makkelijk, right? Just take it one step at a time. With a bit of practice, you’ll get the hang of it.
Creating Cross-Stitches in Your Drawings
I remember the first time I tried to add cross-stitches to my drawings. It was a bit of a mess, but with some practice, it became much easier. Let’s break it down step by step.
Preparation: Setting up your workspace and materials
First things first, you need to set up your workspace. Find a well-lit area and gather your materials. You’ll need a pencil, eraser, ruler, and a fine-tip pen or marker.
(It’s surprising how much difference a good setup can make.)
Drawing the Grid
Next, create a grid on your paper. Use a ruler to draw evenly spaced lines, both horizontally and vertically. This grid will be the foundation for your cross-stitches.
(Think of it as the blueprint for your design.)
- Measure and mark the lines carefully.
- Keep the spacing consistent.
Adding the Cross-Stitches
Now comes the fun part: adding the cross-stitches. Start at one intersection of the grid and draw a small “X.”
- Make sure each “X” is the same size.
- Keep the angles consistent.
Consistency is key here. If one stitch is larger or angled differently, it can throw off the whole design. (Trust me, I’ve been there.)
Shading and Detailing
To add depth and realism, use shading and detailing. Lightly shade around the stitches to give them a three-dimensional look. (This step can really bring your drawing to life.)
- Use a light touch with your pencil.
- Add shadows where the stitches overlap.
With these steps, you can create beautiful and detailed cross-stitches in your drawings. Stitch tekenen makkelijk once you get the hang of it. Just take your time, and don’t be afraid to erase and start over if needed.
Tips and Tricks for Perfecting Your Stitch Drawings
Consistency is key in stitch tekenen makkelijk. To maintain consistent spacing and size, I recommend using a grid or a ruler. It’s a simple trick but it makes a huge difference.
Practice really does make perfect, and regular practice helps you refine your technique. Try using tracing paper to get a feel for the flow of your stitches.
It’s like a dress rehearsal before the big show.
How about reference images, and they’re super helpful. Find some high-quality images online or use real-life examples.
This way, you can see how the stitches should look and mimic those patterns.
One study found that artists who used reference images improved their skills by 30% over six months. That’s solid proof that having a visual guide can make a big difference.
So, grab your tools, pick a reference image, and start practicing. You’ll be amazed at how quickly your stitch drawings improve.
Common Mistakes and How to Avoid Them
Uneven Spacing: How to avoid and correct uneven spacing between stitches. This can be a real headache, especially for beginners. One trick is to count your stitches regularly and use a ruler or measuring tape to keep things consistent.
Messy Lines: Tips for keeping your lines clean and precise. It’s all about the right pressure and the right tools. Use a steady hand and make sure your pencil or pen is sharp.
Overworking: How to avoid overworking your drawing and when to stop. Sometimes, less is more. Know when to step back and let your work breathe.
(It’s like knowing when to leave a party—better to go out on a high note.)
stitch tekenen makkelijk
When you’re learning how to stitch tekenen makkelijk, it’s easy to get caught up in perfection. But remember, practice makes perfect. Start with simple patterns and gradually move to more complex ones.
Pro tip: Take breaks, and seriously. A five-minute break can help you see your work with fresh eyes.
FAQs: Answers to Common Questions
Q1: How do I make my stitches look more realistic?
Start by observing real stitches closely. Notice the way the thread lies and the small imperfections.
When you draw, add those little details. Use a fine-tipped pen or pencil to create thin, precise lines. (It’s all in the details.)
Q2: What if I don’t have all the recommended tools?
You can still practice with what you have. A simple pencil and paper are enough to start.
Focus on the technique and the feel of the stitches. As you get better, you can invest in more specialized tools.
Q3: How long does it take to get good at drawing stitches?
It varies, but consistency is key. Practice regularly, even if it’s just for a few minutes a day.
Over time, you’ll see improvement. Remember, stitch tekenen makkelijk comes with patience and persistence.
Mastering the Art of Drawing Stitches
Recap the key points covered in the guide, including the different types of stitches and step-by-step techniques. stitch tekenen makkelijk is all about understanding these basics. Practice and patience are crucial in mastering the art of drawing stitches. Keep practicing and experimenting with various stitch types to develop your unique style.
 There is a specific skill involved in explaining something clearly — one that is completely separate from actually knowing the subject. Fredz Talbertony has both. They has spent years working with global economic forecasts in a hands-on capacity, and an equal amount of time figuring out how to translate that experience into writing that people with different backgrounds can actually absorb and use.
Fredz tends to approach complex subjects — Global Economic Forecasts, Deep Dives, Trade Agreement Impact Reports being good examples — by starting with what the reader already knows, then building outward from there rather than dropping them in the deep end. It sounds like a small thing. In practice it makes a significant difference in whether someone finishes the article or abandons it halfway through. They is also good at knowing when to stop — a surprisingly underrated skill. Some writers bury useful information under so many caveats and qualifications that the point disappears. Fredz knows where the point is and gets there without too many detours.
The practical effect of all this is that people who read Fredz's work tend to come away actually capable of doing something with it. Not just vaguely informed — actually capable. For a writer working in global economic forecasts, that is probably the best possible outcome, and it's the standard Fredz holds they's own work to.
There is a specific skill involved in explaining something clearly — one that is completely separate from actually knowing the subject. Fredz Talbertony has both. They has spent years working with global economic forecasts in a hands-on capacity, and an equal amount of time figuring out how to translate that experience into writing that people with different backgrounds can actually absorb and use.
Fredz tends to approach complex subjects — Global Economic Forecasts, Deep Dives, Trade Agreement Impact Reports being good examples — by starting with what the reader already knows, then building outward from there rather than dropping them in the deep end. It sounds like a small thing. In practice it makes a significant difference in whether someone finishes the article or abandons it halfway through. They is also good at knowing when to stop — a surprisingly underrated skill. Some writers bury useful information under so many caveats and qualifications that the point disappears. Fredz knows where the point is and gets there without too many detours.
The practical effect of all this is that people who read Fredz's work tend to come away actually capable of doing something with it. Not just vaguely informed — actually capable. For a writer working in global economic forecasts, that is probably the best possible outcome, and it's the standard Fredz holds they's own work to.
